tensor切片的方法在实践中大量运用,其中涉及到多维度的切片操作,有时还是挺让人头晕的。
tf.gather()的下标取值和切片的方法:
import tensorflow as tf from datetime import datetime import numpy as np def pprint(*args, **kwargs): print(datetime.now(), *args, **kwargs, end='\n' + '*' * 50 + '\n') params = tf.constant(['p0', 'p1', 'p2', 'p3', 'p4', 'p5']) pprint(params[3].numpy()) # 获取第4个 pprint(tf.gather(params, 3).numpy()) # 获取第4个 pprint(tf.gather(params, indices=[2, 0, 2, 5]).numpy()) # 分别获取第3个,第1个,第3个,第6个 pprint(tf.gather(params, [[2, 0], [2, 5]]).numpy()) # 分别取下标的值,然后生成一个2 * 2的数组 params = tf.constant([[0, 1.0, 2.0], [10.0, 11.0, 12.0], [20.0, 21.0, 22.0], [30.0, 31.0, 32.0]]) pprint(tf.gather(params, indices=[3, 1])) # 第4个下标和第1个 # 如果axis=0,则沿着纵轴进行操作; # 如果axis=1,则沿着横轴进行操作 pprint(tf.gather(params, indices=[2, 1], axis=1).numpy()) # 多维度下标取值 params = tf.constant([ [0, 0, 1, 0, 2], [3, 0, 0, 0, 4], [0, 5, 0, 6, 0]]) indices = tf.constant([ [2, 4], [0, 4], [1, 3]]) pprint(tf.gather(params, indices, axis=1, batch_dims=1).numpy()) ################################################################# a = tf.random.normal([4, 35, 8]) pprint(tf.gather(a, axis=1, indices=[2, 3, 7, 9, 16]).shape) # axis=1就是第2个维度的变化 pprint(tf.gather(a, axis=2, indices=[2, 3, 7]).shape) # axis=2就是最里面的维度,所以是[4,35,3] ################################################################# # array([[b'c0', b'd0'], # [b'a1', b'b1']], dtype=object) result = tf.gather_nd(indices=[[0, 1], [1, 0]], params=[[['a0', 'b0'], ['c0', 'd0']], [['a1', 'b1'], ['c1', 'd1']]]).numpy() pprint(result) # array([b'b0', b'b1'], dtype=object),由外向内 pprint(tf.gather_nd(indices=[[0, 0, 1], [1, 0, 1]], params=[[['a0', 'b0'], ['c0', 'd0']], [['a1', 'b1'], ['c1', 'd1']]]).numpy()) # array([[[[b'a1', b'b1'], # [b'c1', b'd1']]], # [[[b'a0', b'b0'], # [b'c0', b'd0']]]], dtype=object) pprint(tf.gather_nd(indices=[[[1]], [[0]]], params=[[['a0', 'b0'], ['c0', 'd0']], [['a1', 'b1'], ['c1', 'd1']]]).numpy())tf.boolean_mask()数据过滤的方法:
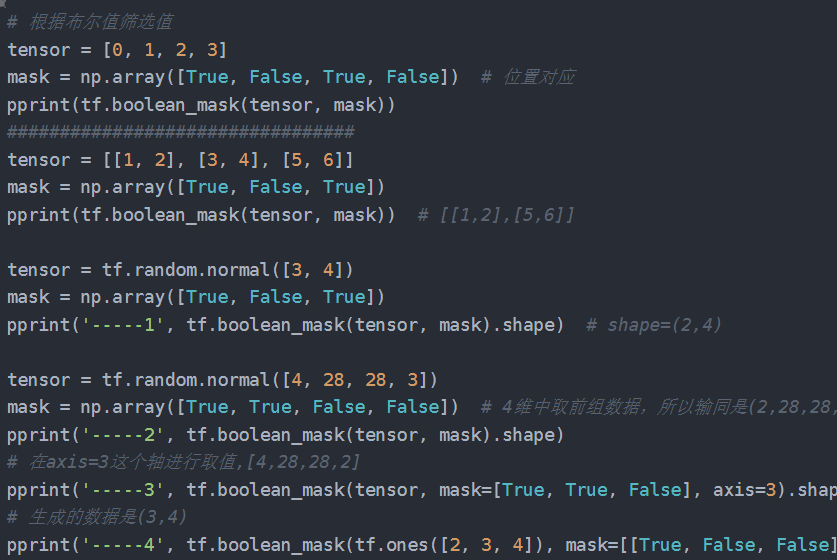
# 根据布尔值筛选值 tensor = [0, 1, 2, 3] mask = np.array([True, False, True, False]) # 位置对应 pprint(tf.boolean_mask(tensor, mask)) ################################# tensor = [[1, 2], [3, 4], [5, 6]] mask = np.array([True, False, True]) pprint(tf.boolean_mask(tensor, mask)) # [[1,2],[5,6]] tensor = tf.random.normal([3, 4]) mask = np.array([True, False, True]) pprint('-----1', tf.boolean_mask(tensor, mask).shape) # shape=(2,4) tensor = tf.random.normal([4, 28, 28, 3]) mask = np.array([True, True, False, False]) # 4维中取前组数据,所以输同是(2,28,28,3) pprint('-----2', tf.boolean_mask(tensor, mask).shape) # 在axis=3这个轴进行取值,[4,28,28,2] pprint('-----3', tf.boolean_mask(tensor, mask=[True, True, False], axis=3).shape) # 生成的数据是(3,4) pprint('-----4', tf.boolean_mask(tf.ones([2, 3, 4]), mask=[[True, False, False], [False, True, True]]).shape)
原文链接:https://blog.csdn.net/qwentest/article/details/123872329


评论 ( 0 )